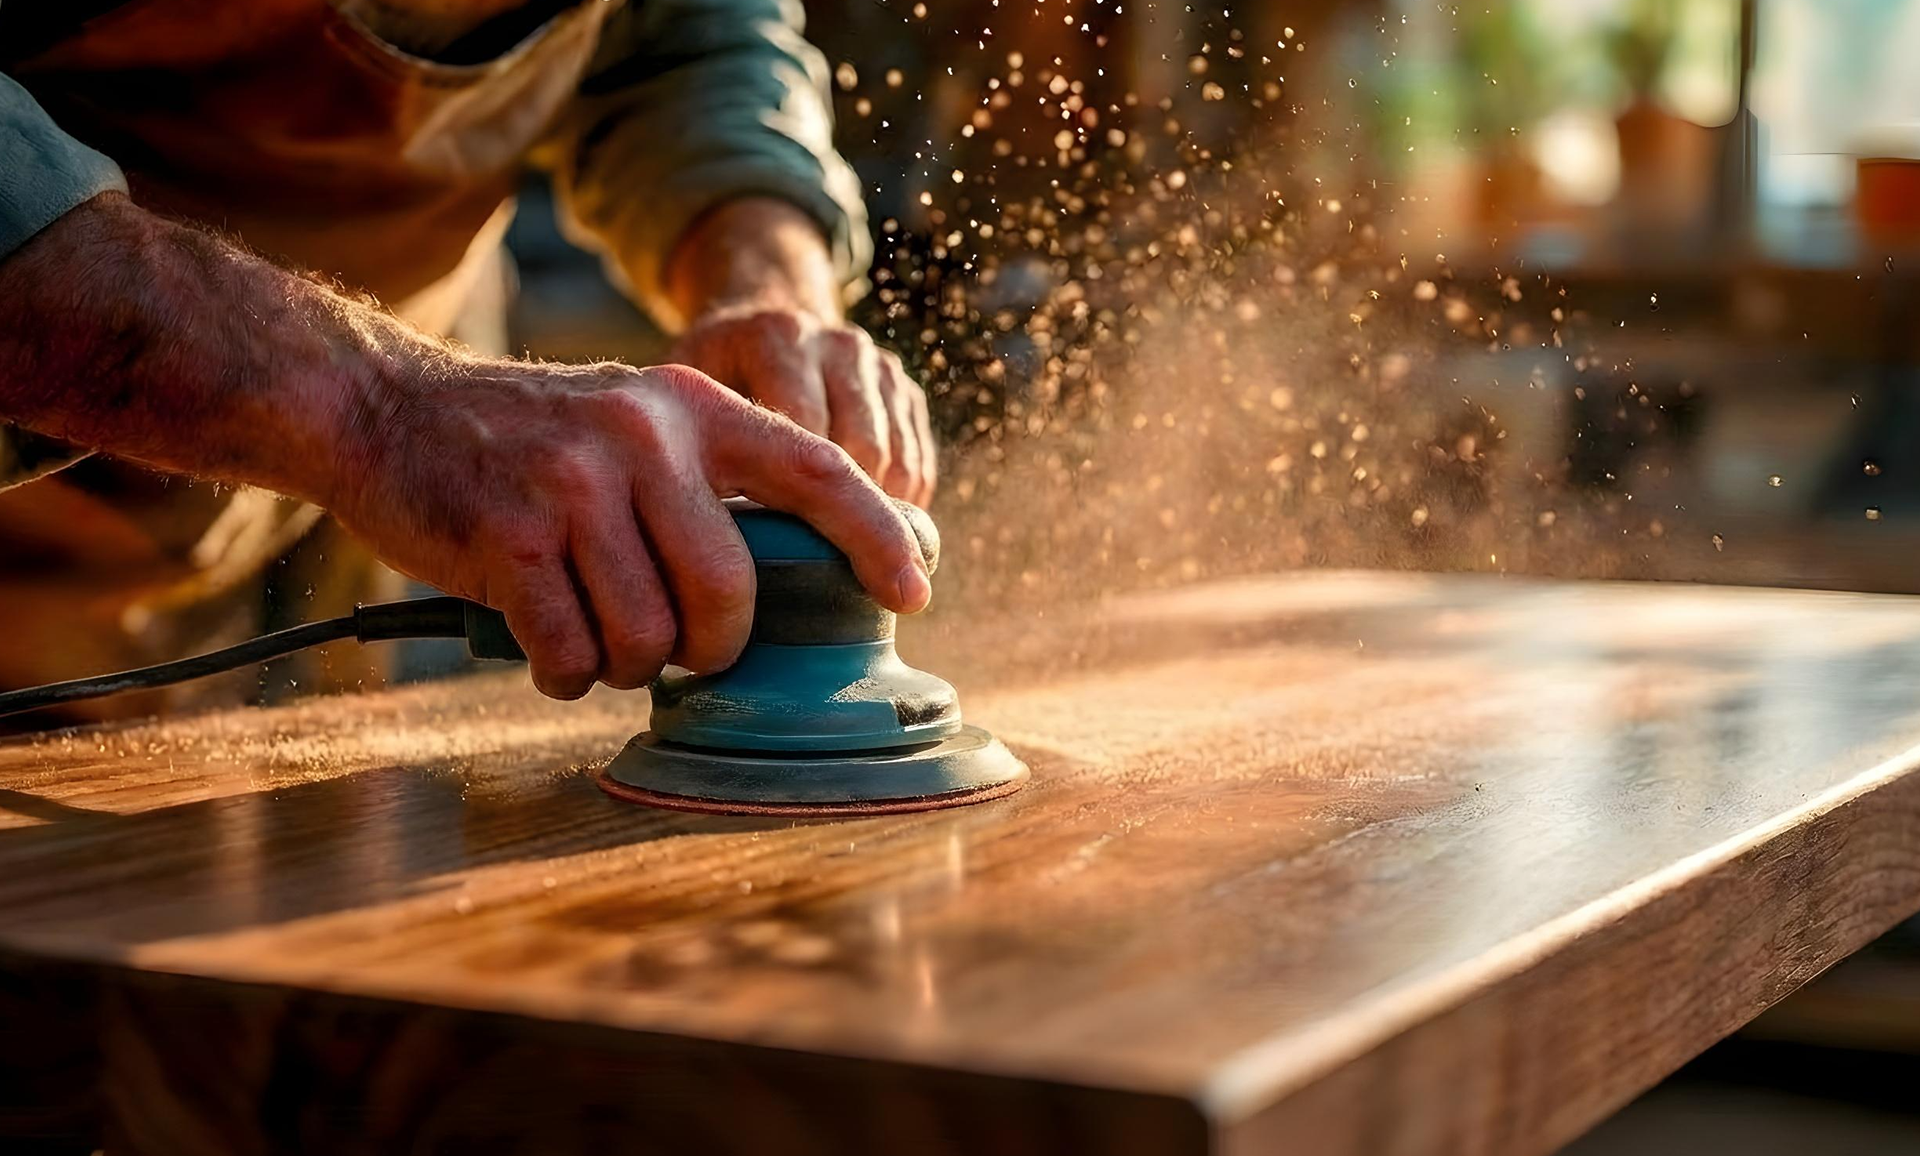
In professional woodworking—whether furniture manufacturing, modular kitchens, interior fit-outs, or joinery—sanding quality directly impacts finish, productivity, and rework costs. Yet, many workshops unknowingly lose time and material due to avoidable sanding mistakes.
This guide breaks down the most common sanding mistakes in woodworking and explains how professionals avoid them using the right abrasives and cutting tools.
Why Sanding Errors Cost More Than You Think
Incorrect sanding practices can lead to:
- Uneven surface finish
- Burn marks and fibre damage
- Excessive abrasive consumption
- Increased labour time
- Rework before polishing or coating
Professionals solve these issues by matching abrasive type, grit range, and tool to the application—not by sanding harder or longer.
5 Common Sanding Mistakes in Woodworking and How Professionals Avoid Them
Mistake #1: Using the Wrong Sanding Disc for the Job
The Problem
Generic sanding discs clog quickly, wear unevenly, and leave swirl marks—especially on softwood, plywood, and MDF.
How Professionals Avoid It
They choose application-specific sanding discs designed for consistent stock removal and longer disc life.
Recommended products:
Why it works
- Lesser clogging improves productivity
- Better grain uniformity for uniform surface finish
- No black or burn marks during extended sanding cycles
Mistake #2: Skipping Proper Grit Progression
The Problem
Jumping directly from coarse grit to fine grit saves time on paper—but actually increases sanding duration and affects surface consistency.
How Professionals Avoid It
They follow a controlled grit progression, ensuring each sanding stage removes the previous scratch pattern effectively.
Recommended product:
Why it works
- A stearated coating minimizes dust adhesion
- Consistent finish across large surface areas
- Ideal for furniture panels, shutters, and boards
- Ensures smoother sanding and cleaner surfaces
- Ideal for interior construction work
Mistake #3: Overheating the Wood Surface While Sanding
The Problem
Excessive pressure or incorrect abrasive choice generates heat, leading to:
- Burn marks
- Resin smearing
- Fibre weakening
How Professionals Avoid It
They use abrasives designed for controlled material removal rather than aggressive sanding.
Recommended product:
Why it works
- Better heat dissipation
- Stable sanding on hardwood and dense panels
- Reduced surface damage before finishing
Mistake #4: Using Sanding Tools Where Cutting Is Required
The Problem
Trying to shape or resize wood using sanding tools leads to:
- Tool wear
- Inaccurate cuts
- Increased cycle time
How Professionals Avoid It
They separate cutting operations from sanding operations and use purpose-built cutting tools.
Recommended products:
Why it works
- Clean, precise cuts
- Reduced strain on sanding abrasives
- Faster overall workflow
Mistake #5: Ignoring Dust Control and Surface Cleanliness
The Problem
Dust accumulation during sanding causes:
- Abrasive clogging
- Uneven finish
- Poor coating adhesion
How Professionals Avoid It
They select anti-clog abrasives and maintain proper dust extraction systems.
Best practice
- Use stearated sheets for finishing stages
- Clean surfaces between grit changes
- Replace worn abrasives early instead of applying excess pressure
Best Practices Followed by Professional Woodworking Units
✔ Choose abrasives based on wood type and hardness
✔ Maintain consistent grit progression
✔ Use cutting tools for shaping and sanding tools for finishing
✔ Avoid overheating by using high-quality abrasives
✔ Replace discs and sheets before performance drops
Final Thoughts
Sanding is not just a finishing step—it’s a critical quality control stage in woodworking.
Professionals avoid common sanding mistakes by combining the right abrasive technology with disciplined processes, resulting in superior finishes, lower costs, and faster turnaround.
Choosing the correct sanding and cutting tools ensures repeatable quality and long-term productivity in professional woodworking environments.
Frequently Asked Questions (FAQs)
1. What is the most common sanding mistake in woodworking?
The most common mistake is using the wrong abrasive for the application. Generic sanding discs clog quickly, overheat the surface, and lead to uneven finishes. Professional workshops avoid this by selecting application-specific sanding discs and sheets designed for wood.
2. Why is grit progression important in wood sanding?
Skipping grit levels leaves deep scratch marks that are difficult to remove later. Proper grit progression ensures:
- Faster sanding cycles
- Uniform surface finish
- Better adhesion for paint, polish, or laminate
- Professionals use stearated sanding sheets to maintain consistency across each sanding stage.
3. How do professionals prevent burn marks while sanding wood?
Burn marks occur due to excessive heat caused by:
- Applying too much pressure
- Using worn or incorrect abrasives
- Professionals prevent this by using controlled stock-removal abrasives like fibre discs, which reduce heat build-up and surface damage.
4. Should cutting and sanding be done using the same tool?
No. Cutting and sanding serve different purposes.
Professionals always:
- Use TCT saw blades or wood cutters for sizing and shaping
- Use sanding discs and sheets only for surface finishing
- This improves accuracy, reduces tool wear, and shortens overall production time.
5. Which sanding abrasives are best for professional woodworking?
- The best sanding abrasives depend on the operation:
- Hook & loop discs → Fast disc change and surface sanding
- IDC discs → Consistent finish and longer disc life
- Stearated sheets → Reduced clogging during finishing
- Fibre discs → Controlled sanding on dense or hardwood surfaces
- Using the right abrasive for each stage ensures repeatable quality.