Every vehicle that enters the workshop deserves to leave with a finish that speaks quality. At CUMI, we support the complete end-to-end vehicle refinishing cycle—from cutting and sanding bare metal to delivering that high-gloss, paint-ready surface. CUMI SHINELINE automotive vehicle refinishing abrasives are exclusively designed for longevity, a stunning glossy finish and smooth transitions to achieve professional-grade results.
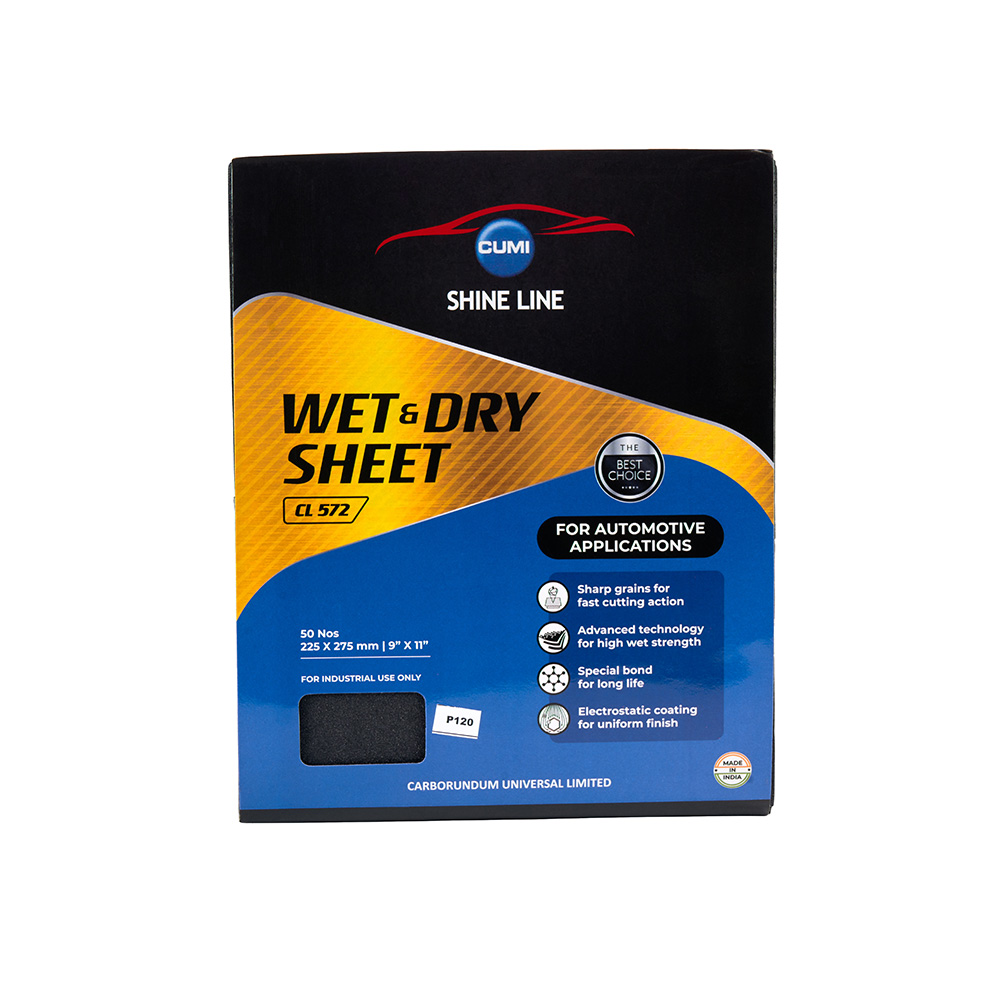
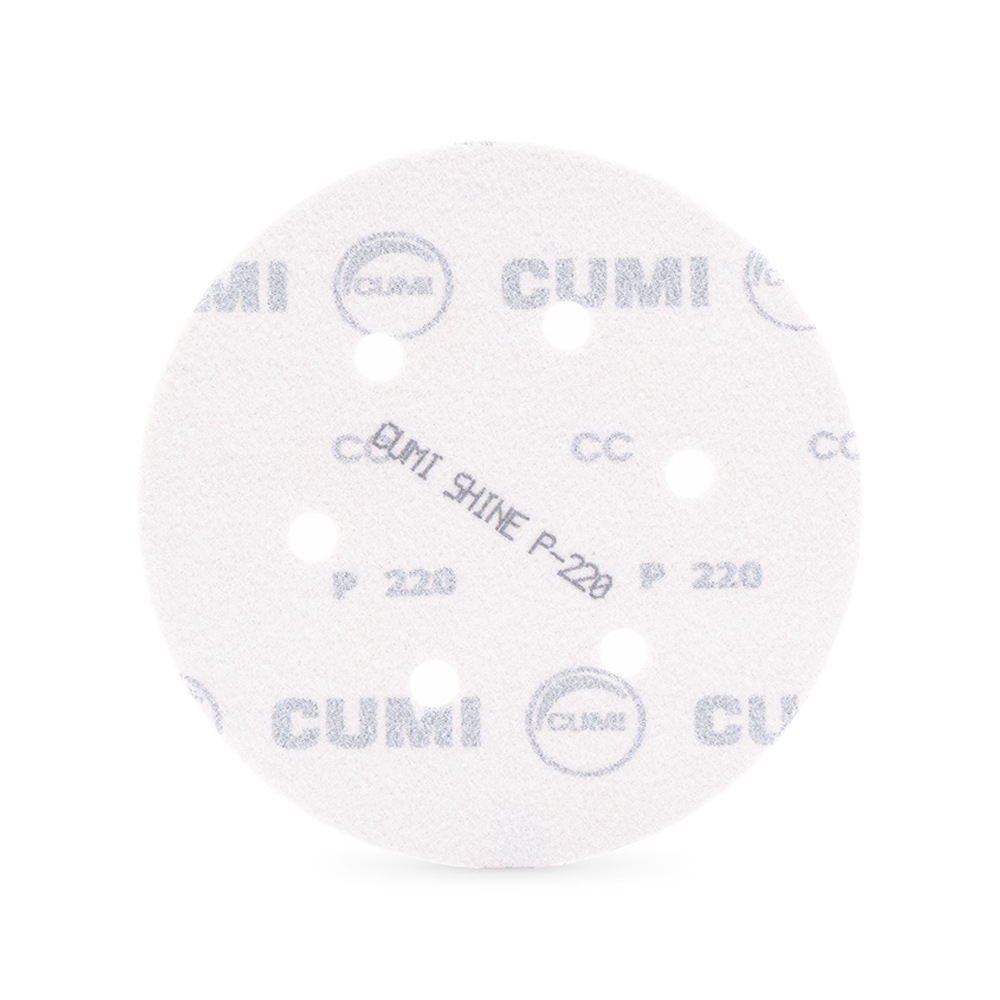
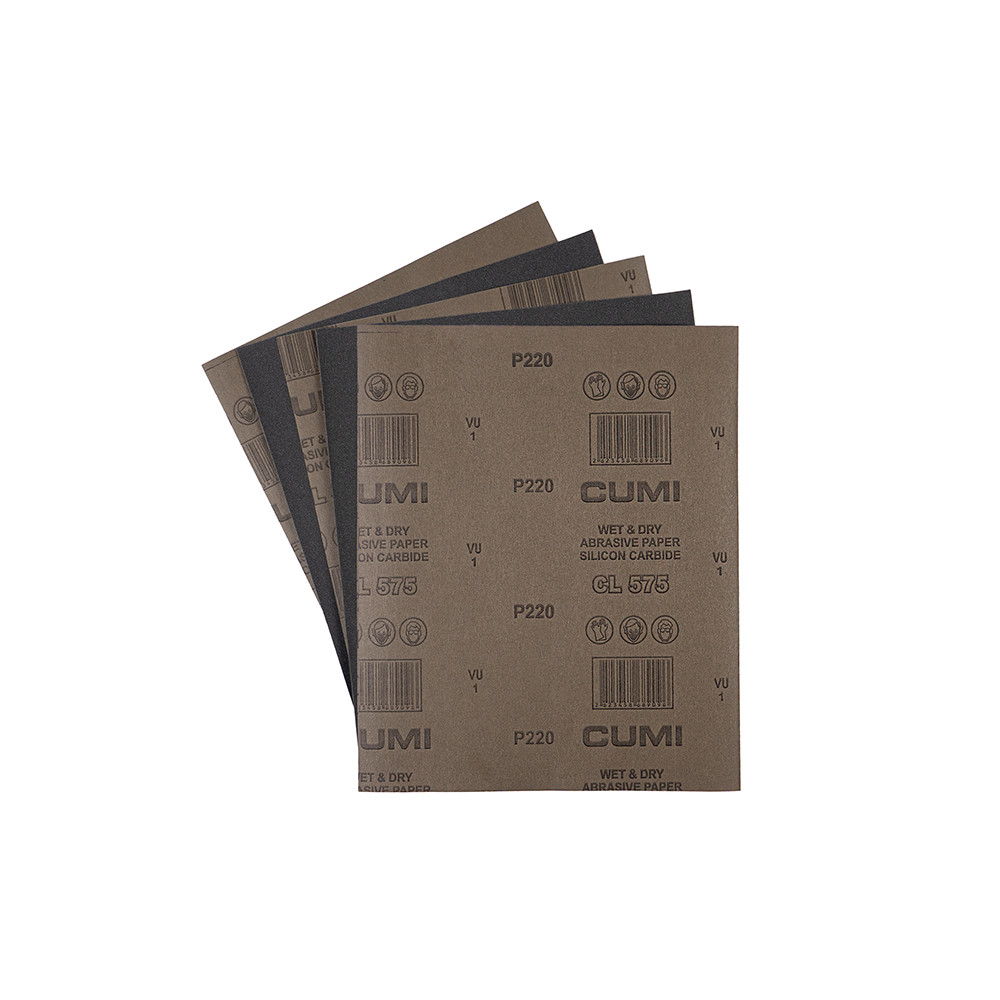
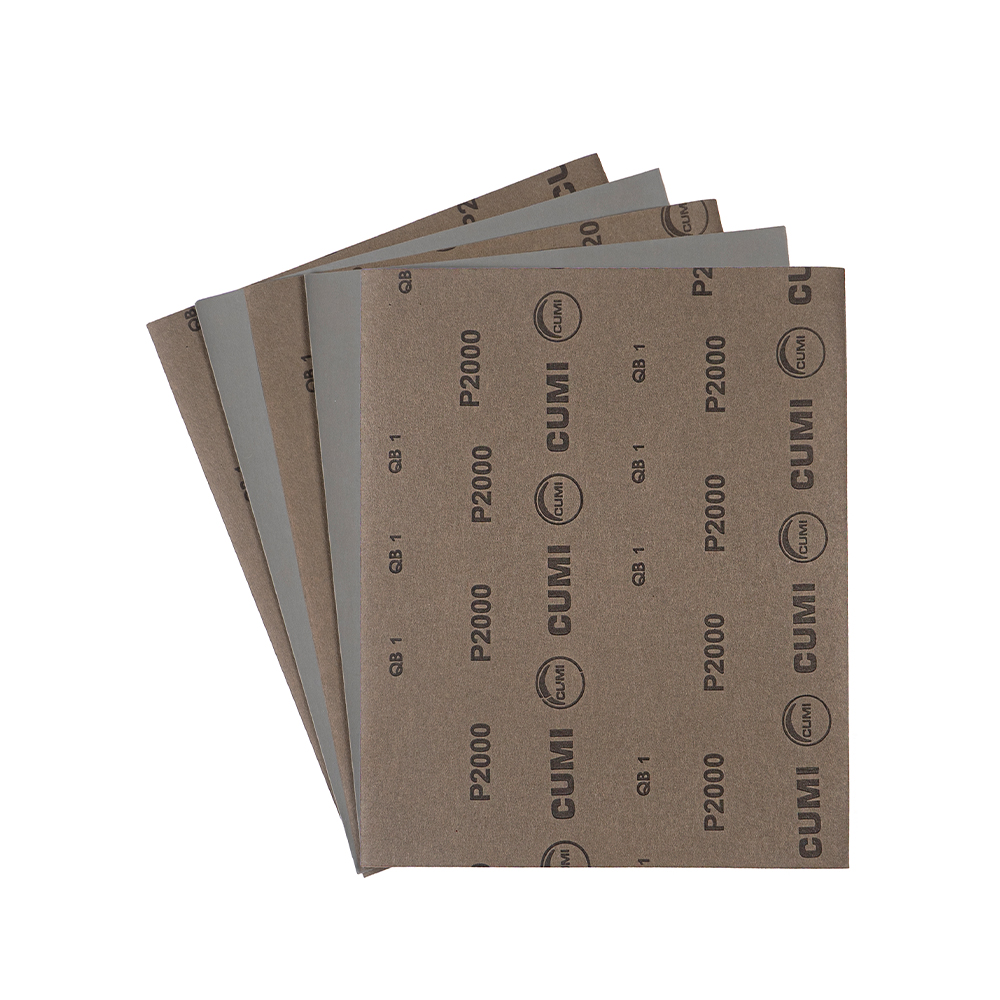
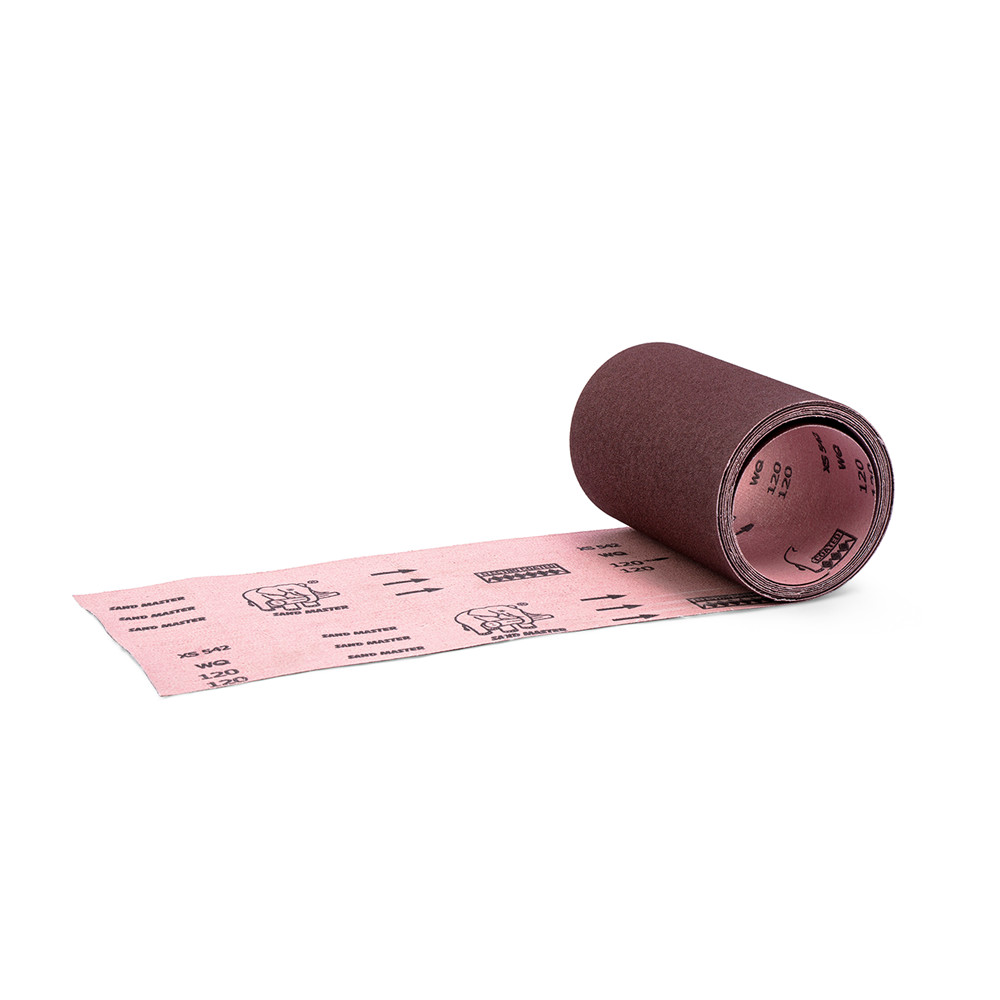
Used for shaping fillers, contour sanding, putty filler sanding and preparing surfaces for paint. Delivers high-end surface finish with 30% longer life and uniform scratch patterns.
Product Options:
Sheets
Rolls
Discs
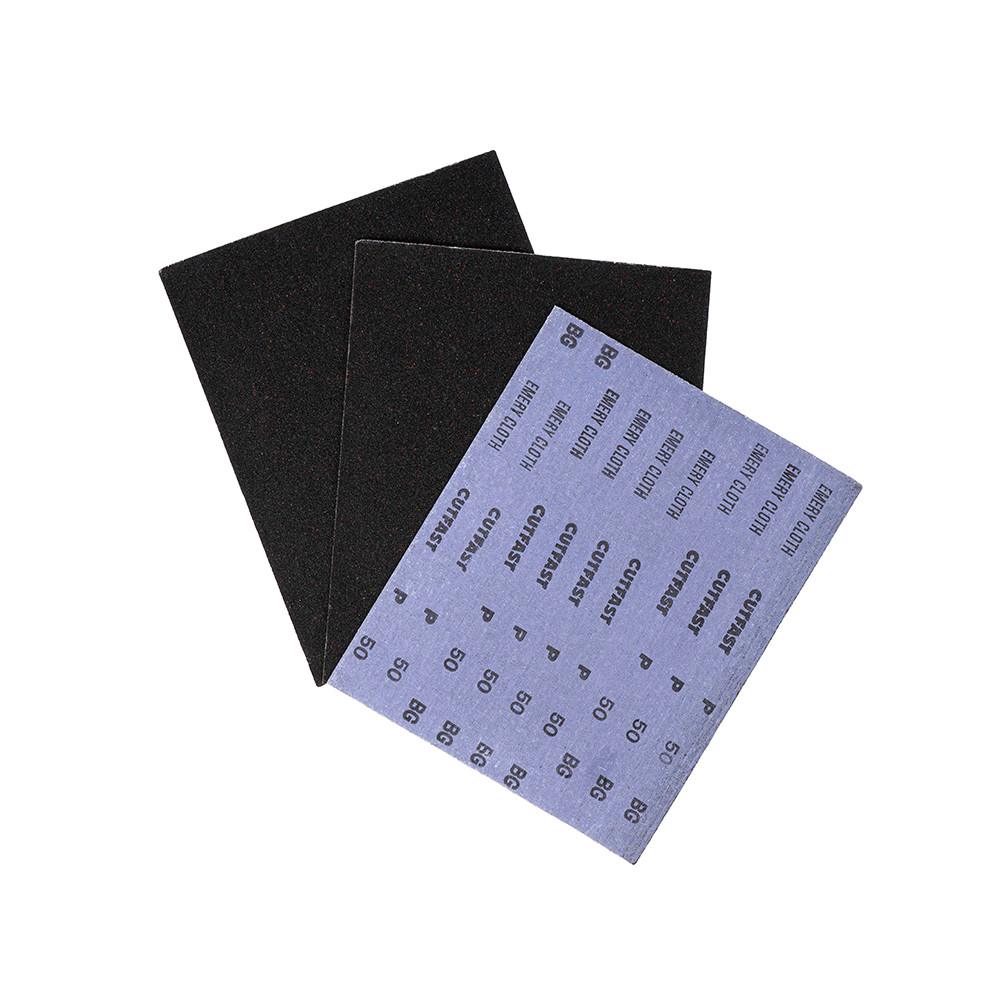
Cutting
Suitable for panel cutting, removing heavy welds and rust. Delivers high stock removal with minimal surface damage and up to 30% faster action.
Product Options:
Cutting wheels
Grinding wheels
Polishing
Removes fine surface imperfections and haze from painted or coated areas. Enables a smooth, reflective base before final buffing.
Product Options:
Rubbing compound
Liquid wax
Why Choose CUMI Abrasives for Auto-After Work
Consistent Quality
Delivers reliable scratch depth across grits, ensuring smooth transitions & stunning finish between each stage.
Durability
CUMI abrasives are built to withstand long production cycles with minimal wear, reducing changeovers.
Tailored Solutions
Custom grit combinations, disc sizes, and bonds are designed to match specific machines, materials, and finish goals.
Flexibility
Designed to conform to curves, edges, and contours—ideal for modern vehicle designs.
FAQ’s on Auto-After Vehicle Preparation And Finishing Abrasives
Clogging happens due to resin dust and soft filler buildup. Use open-coat abrasives with anti-loading treatment, and avoid excess pressure. CUMI’s coated abrasives are designed to stay clean longer.
Use a consistent cross-hatch sanding technique and step down through finer grits before moving to polishing compounds. Avoid skipping grits. Finish with a fine buffing abrasive to eliminate micro-scratches.
No. Using the wrong abrasive type for wet sanding can cause grain shedding, delamination, or surface defects. Many garage workers assume dry-use abrasives can be sprayed with water—this leads to early failure and uneven finish.
Always verify the abrasive is specifically rated for wet or dual-use.
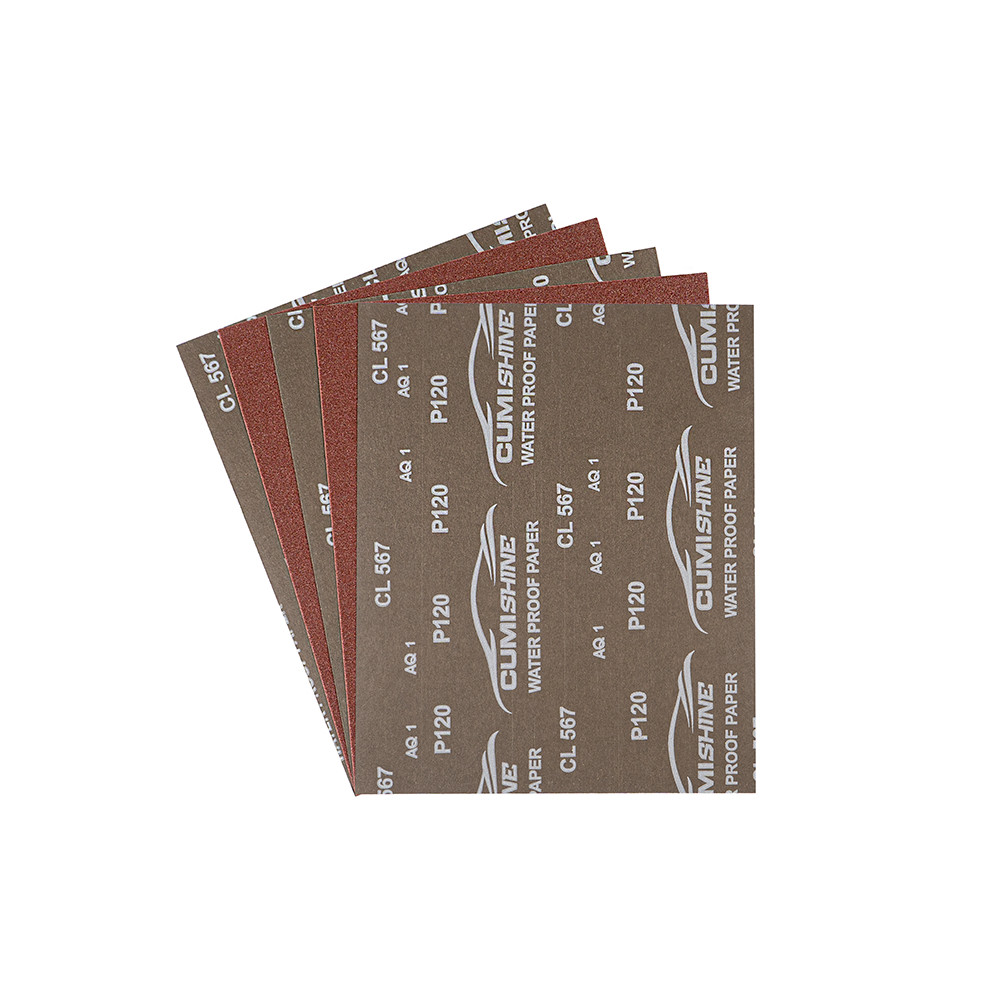
Wet-sanding abrasives are resin-bonded and waterproof-backed to withstand moisture and maintain grain structure.
CUMI’s water-proof sheet series is engineered for low friction and extended life during clearcoat and colour sanding applications.
Premature wear is often caused by poor filler compatibility or over-application pressure. Heavy body fillers can quickly clog standard abrasives, reducing cutting action. Other causes include low-quality grain bonding and incorrect grit choices for rough shaping.
Over‑sanding is a pervasive issue in bodyshop work. It makes panels and filler areas thin which can lead to adhesion failure and visible defects after painting.